YUNO SELF HOST?

I already posted about my move away from WebFaction, so I thought I would give a brief demo of the steps it takes to set up a simple WordPress blog. In my opinion, it's not that hard. There's a hiccup here and there, but it's just a one time thing. This whole process can be done in 15 minutes.
Get ready for the picture storm.
Pick a server
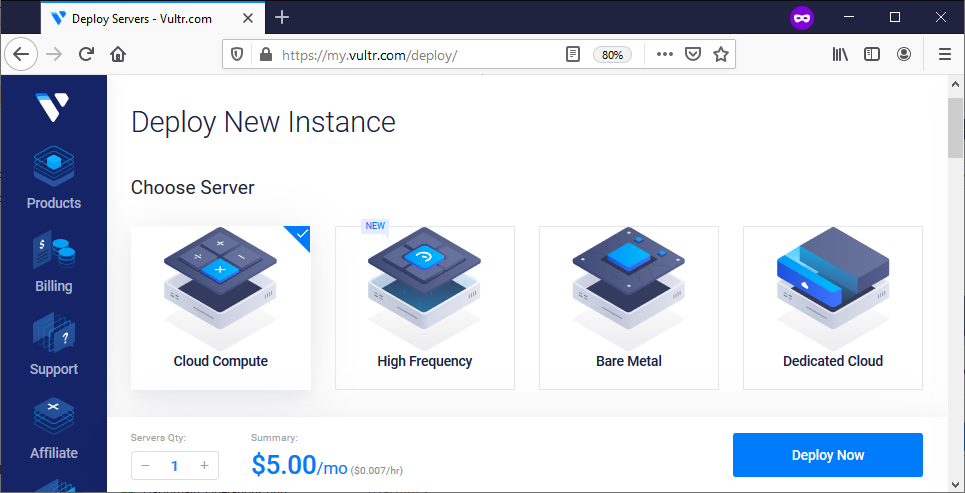
I personally use Vultr. Why? Their prices are good and they bill HOURLY. This is very handy when you may need to rebuild a server and don't want to be charged a full month. When you live somewhere without some basic freedoms and absolutely no due process, you may find yourself rebuilding a server regularly... :)
You may notice that they offer "one click" application installs. This is probably a better fit for you if you want to run just one application - but if you want some flexibility to have multiple applications and domains then you're going to need an administration panel.
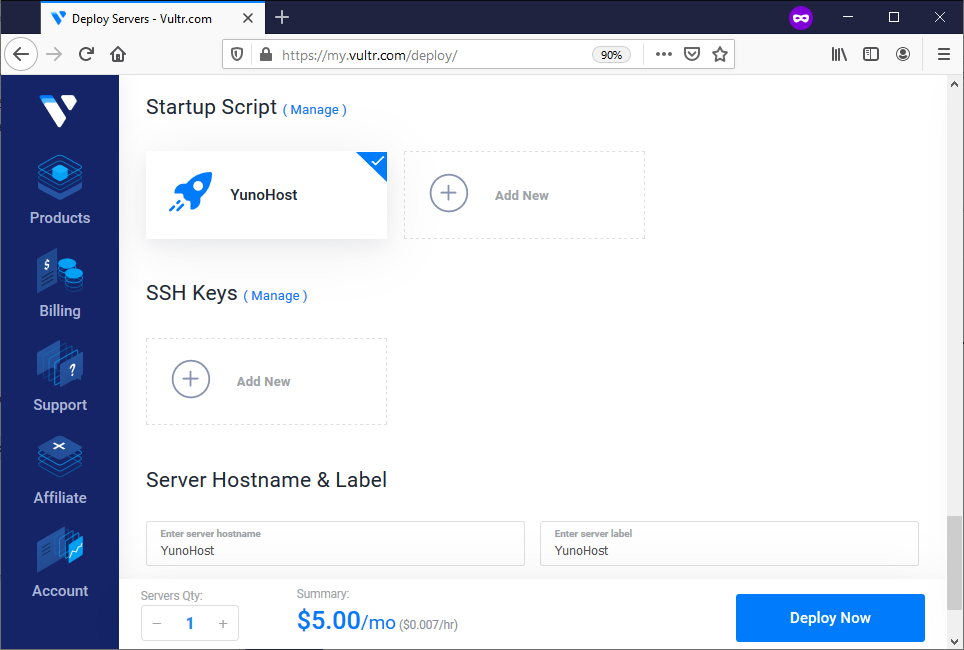
When configuring your server, you really don't need a powerful or expensive one. The $5 option with Vultr is plenty.

As for the OS - you're going to need to pick Debian 9. Currently, this is what YunoHost is based on.
You could also use the "Upload ISO" option and download a fresh ISO from them - but that would take much longer. If your server provider allows you to install a server with a link to an ISO, then it may be easier since they will handle the downloading. But in general, if you pick a pre-selected ISO your VPS will be ready much faster.


For YunoHost - you definitely need IPv6 support to utilize their DynDNS service.
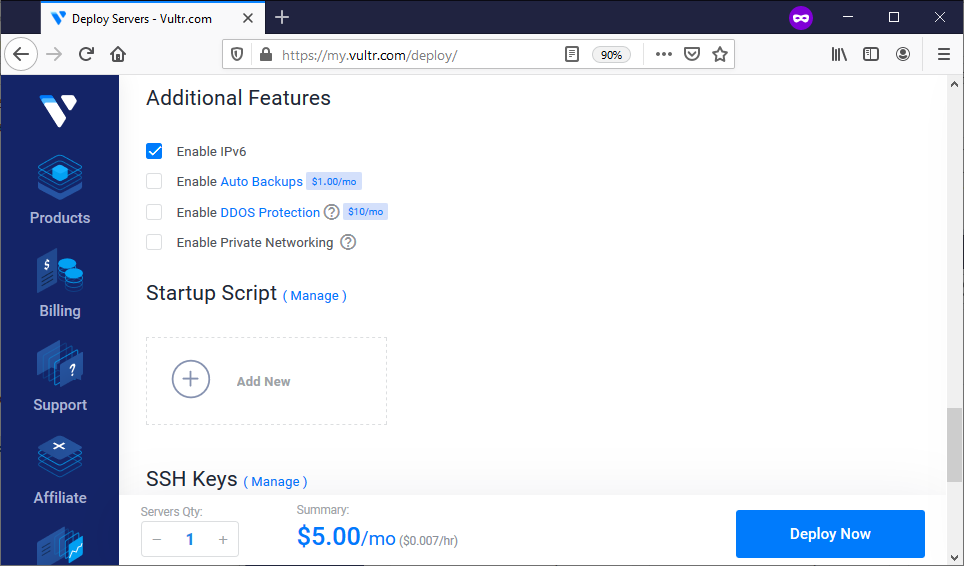
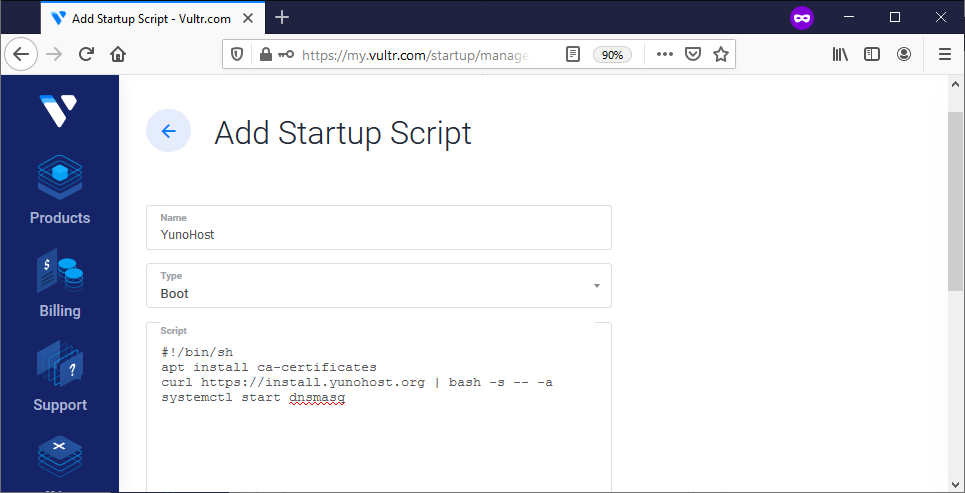
You could just start the server, connect in via SSH, and run the manual install script they provide - or you can create a Startup Script which will automatically run the script on the fresh machine. I prefer this option, so I made a quick script with the help of the YunoHost team:
!/bin/shapt install ca-certificatescurl https://install.yunohost.org | bash -s -- -asystemctl start dnsmasq
This script only does 3 things in addition to running the manual install script:
- It makes sure the certificates are updated before proceeding. Some VPSes do this as part of the setup, some do not.
- It adds the "-a" parameter to the setup script which accepts the defaults. Normally if you run the manual install you would be asked two questions. This doesn't work if we are trying to automate it.
- It makes sure the dnsmasq service is started. I noticed that this was failing to start due to a timeout. Manually starting it seems to work fine. I'm still investigating this with the YunoHost team. It's possible it's a VPS provider issue.
Now, just deploy that bad boy (or girl)
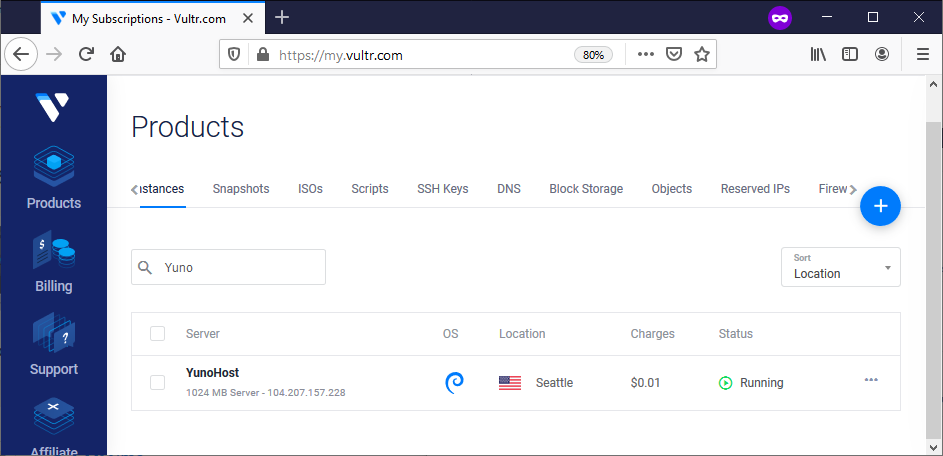
In less than a minute your server will be ready and you can see its IP address:
Configure YunoHost
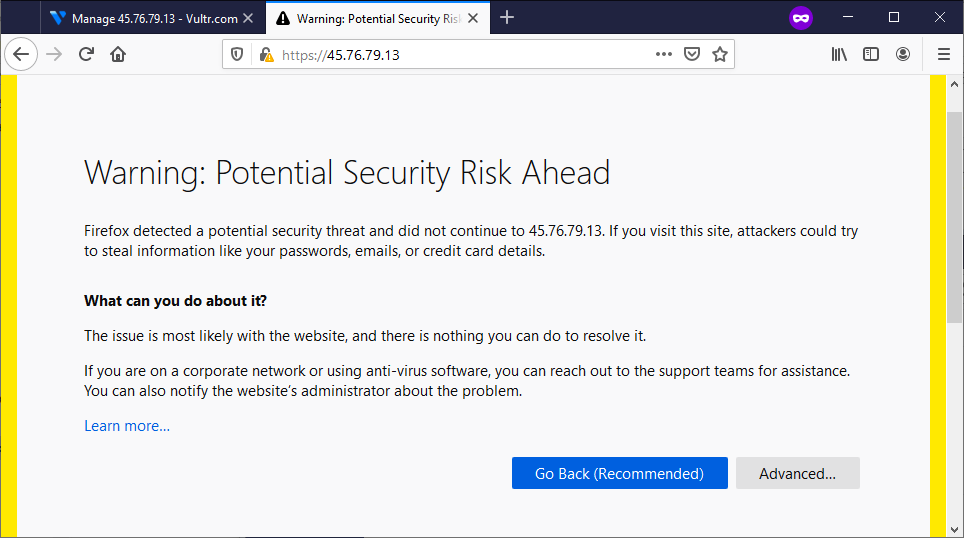
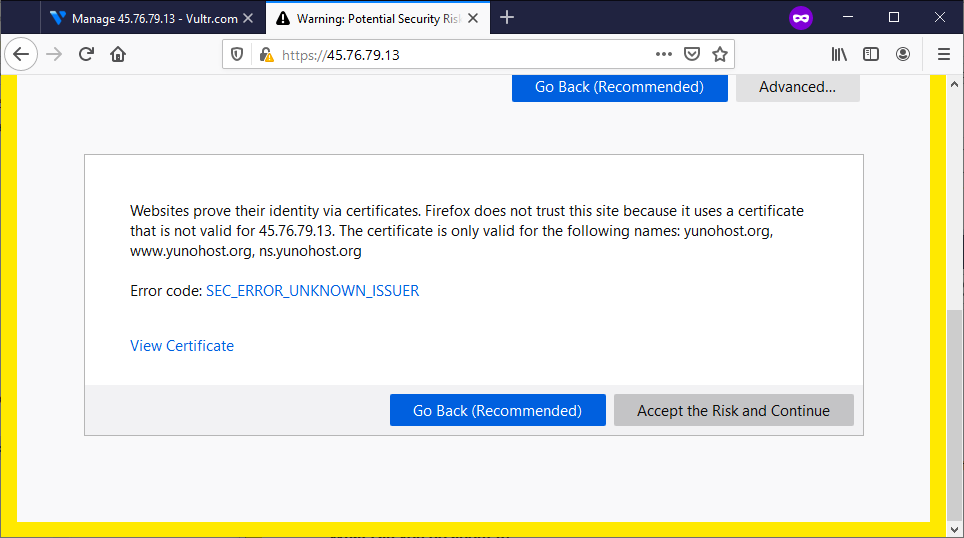
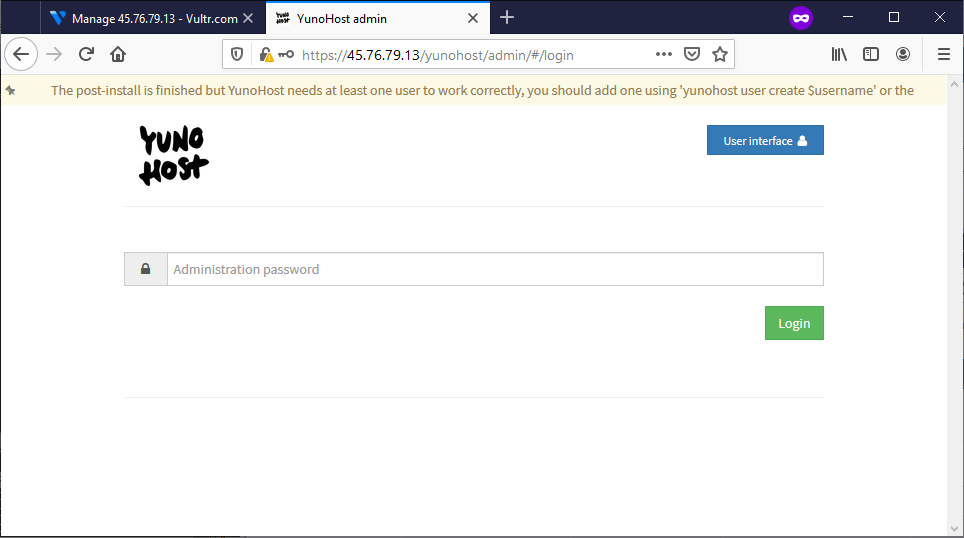
Now you can connect to this IP using HTTPS. You will get a scary message saying it's not safe because it doesn't have a proper certificate installed. Accept this warning, we'll fix it soon.
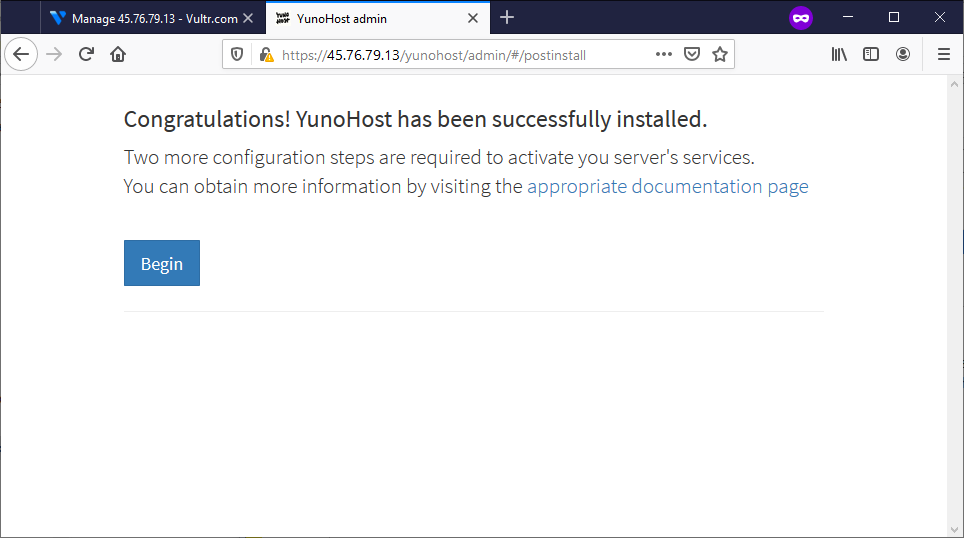
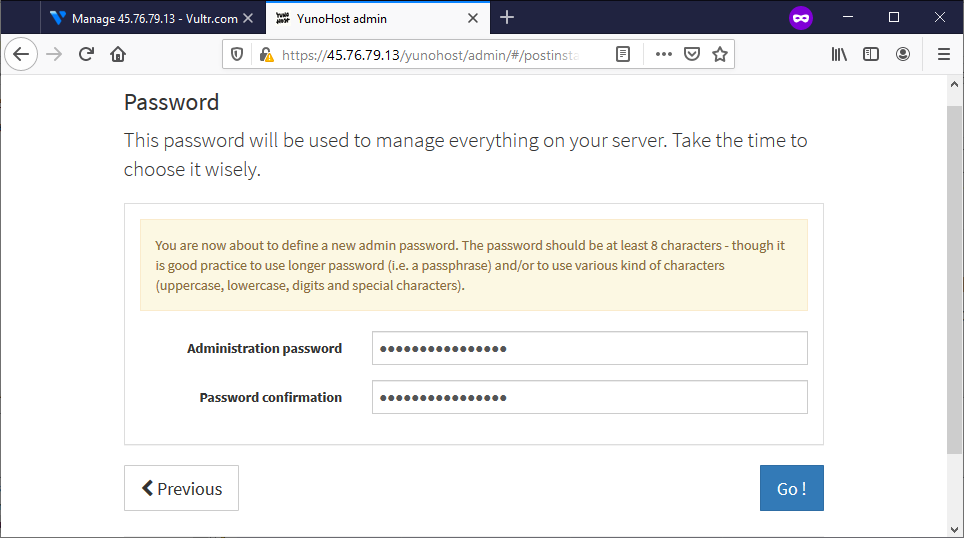
Now we are at what is called the "Post Install" step for YunoHost. We need to set up things like our domain name and an administrative password.
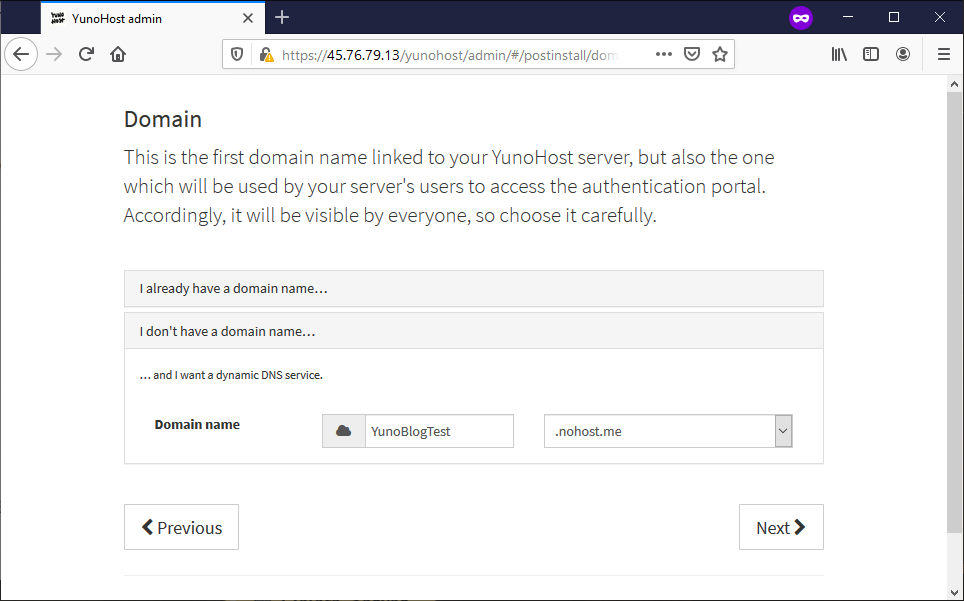
If you have your own domain name - just use your DNS provider to point it to your YunoHost IP. For simplicity, we're just going to use a free domain from YunoHost.
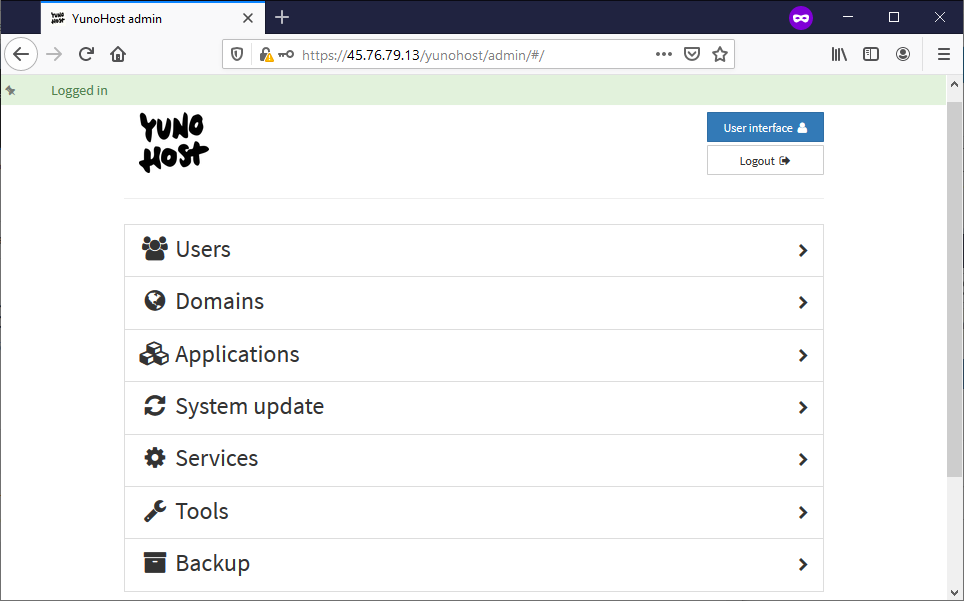
Now we can log in and see the dashboard:
First things first - we need to get an SSL certificate for our domain so it can be safe and secured. YunoHost has integrated with the wonderful Let's Encrypt to provide easy and free SSL certificates.
We do this by going to "Domains"
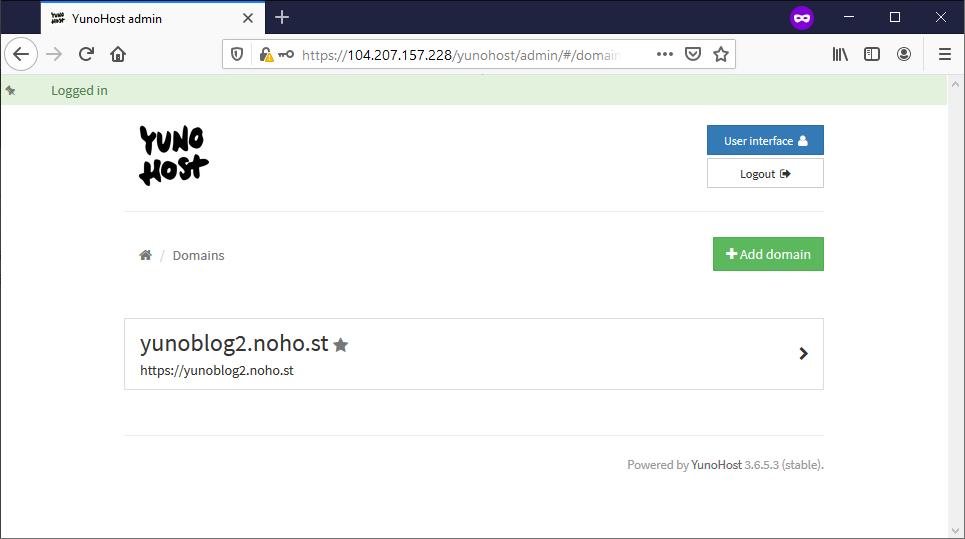
Click on our domain
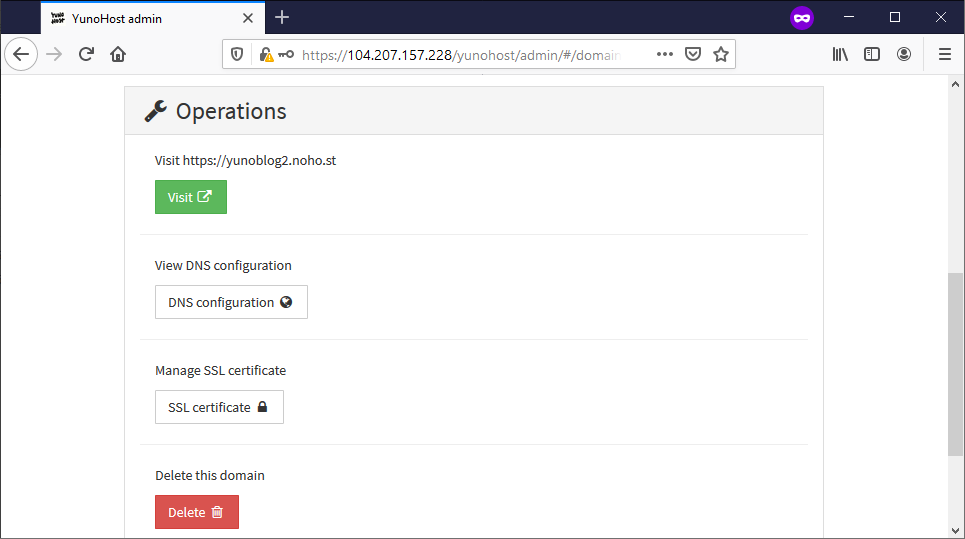
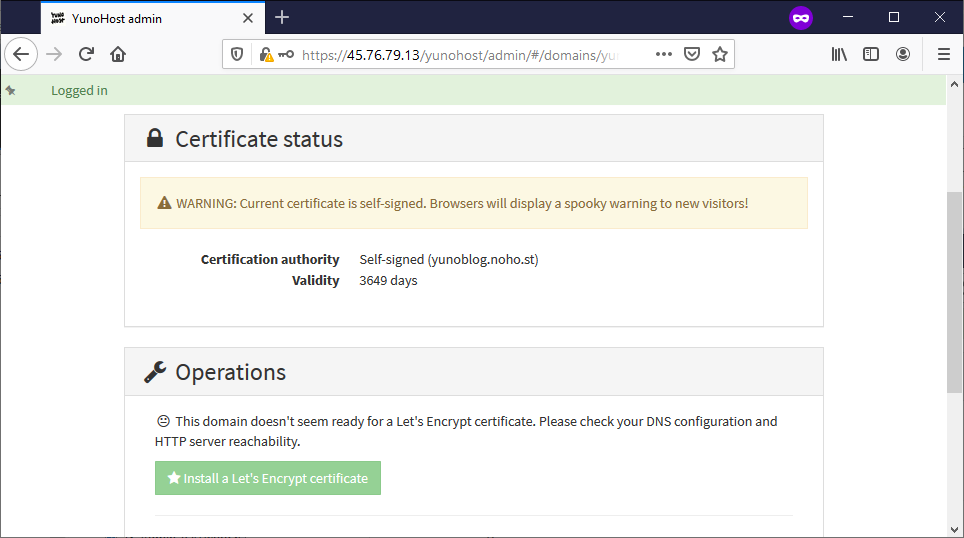
Click on "SSL certificate"
At first, it may look like this where it says it's not quite ready to use Let's Encrypt
Just give it a minute and try refreshing. Eventually it will look like this:
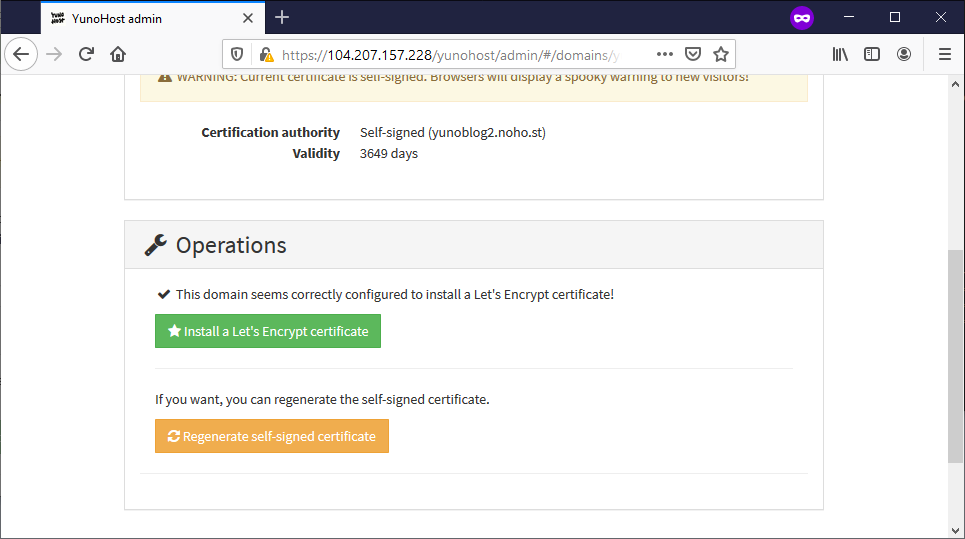
Click "Install a Let's Encrypt certificate" and it will proceed with the install.
Once it's finished we'll go back to the dashboard and look at our "Users" page
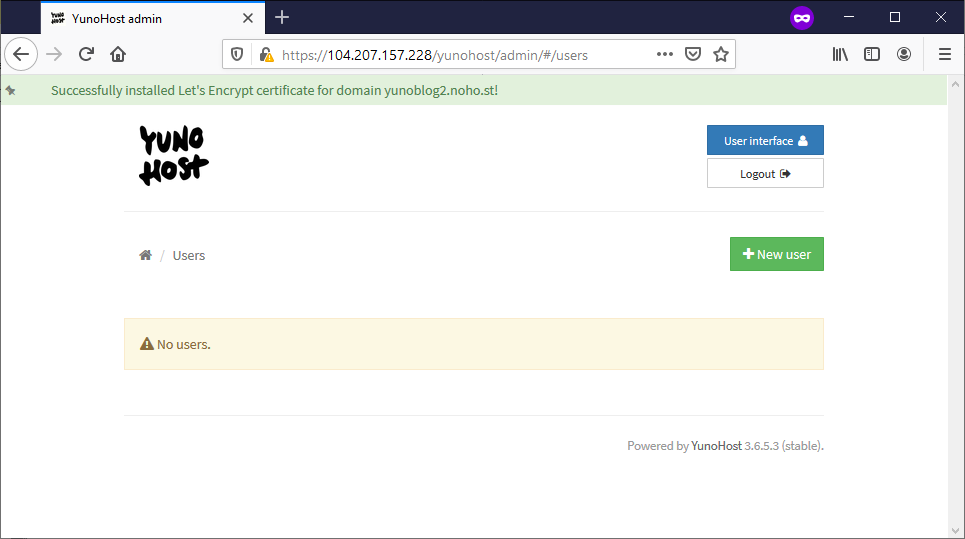
Applications installed in YunoHost can belong to a specific user. So you can actually host multiple blogs and websites from one YunoHost install. Let's add a user.
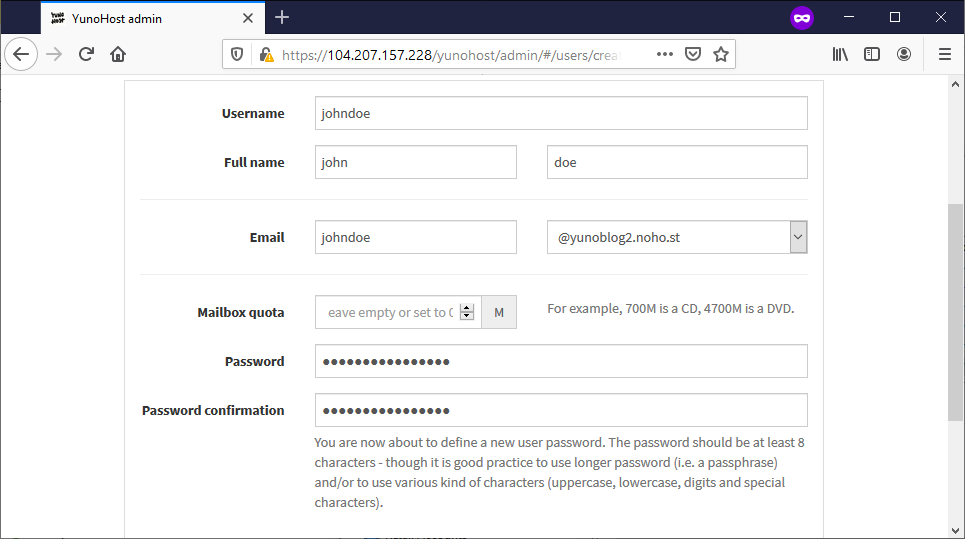
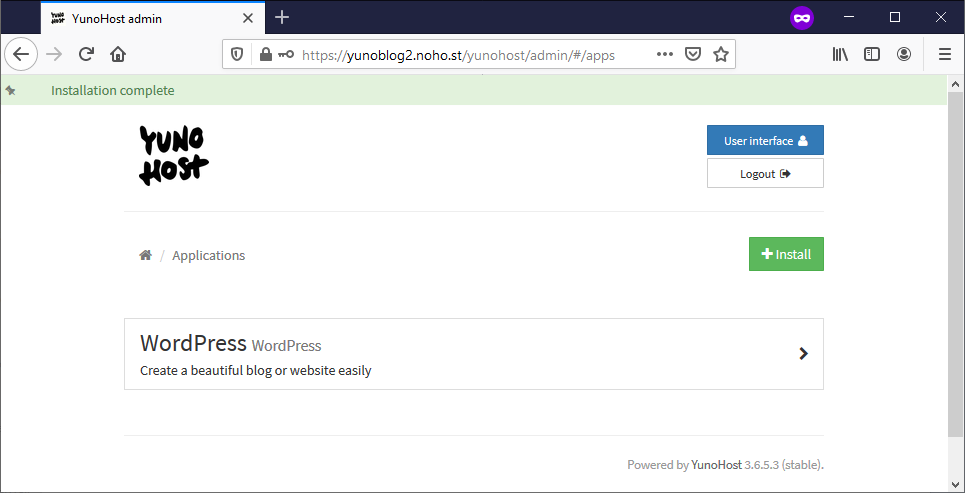
Now we can add an application, WordPress, and assign it to this user.
We go back to the Dashboard and click "Applications"
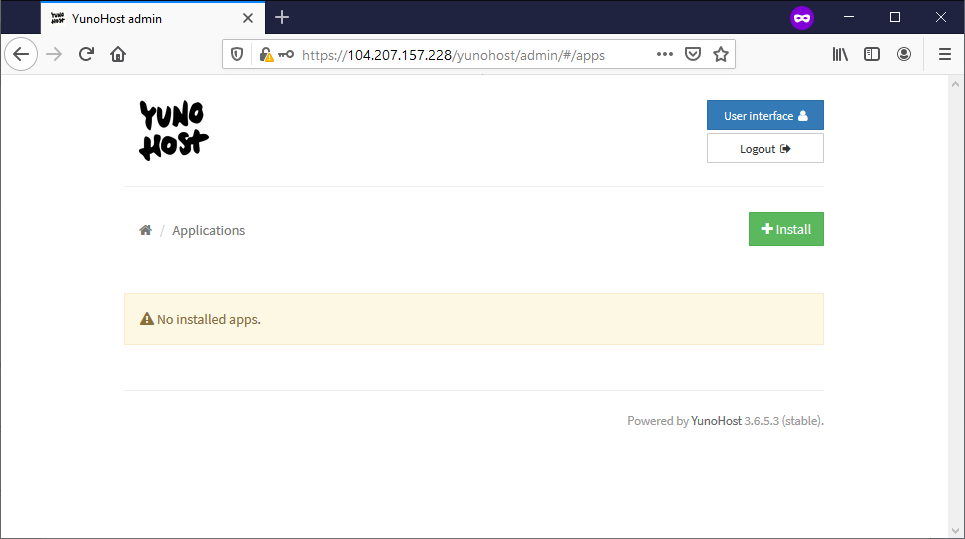
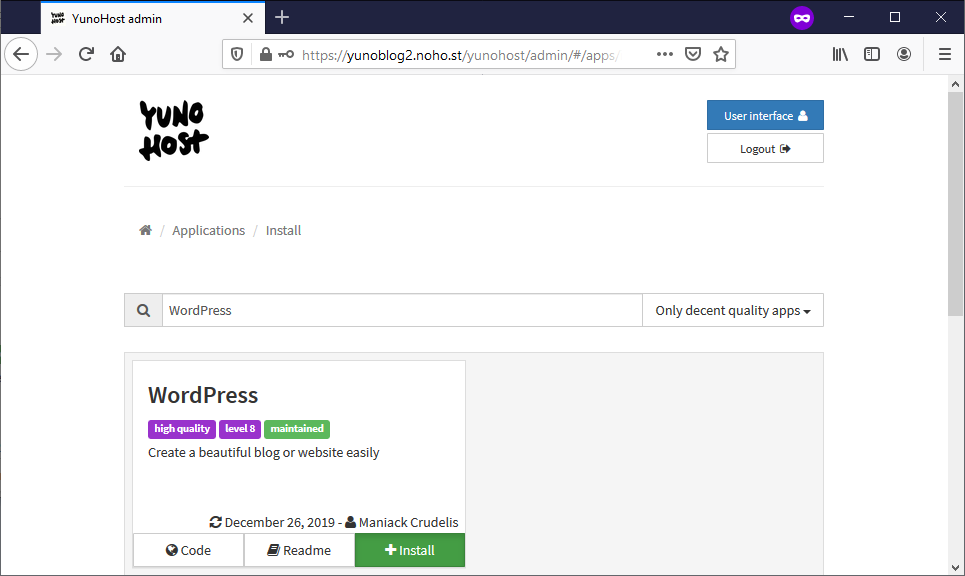
Now we Install a new one. We will see a huge list of applications that have already been packages for use with YunoHost, but for now we just want WordPress
Some applications can share a domain, like: mydomain.com/App1, and mydomain.com/App2.
Other applications take the whole domain: mydomain.com/
WordPress can do either one. So if you want to use one app for your home page and only use WordPress for your blog, you might install it to: mydomain.com/blog.
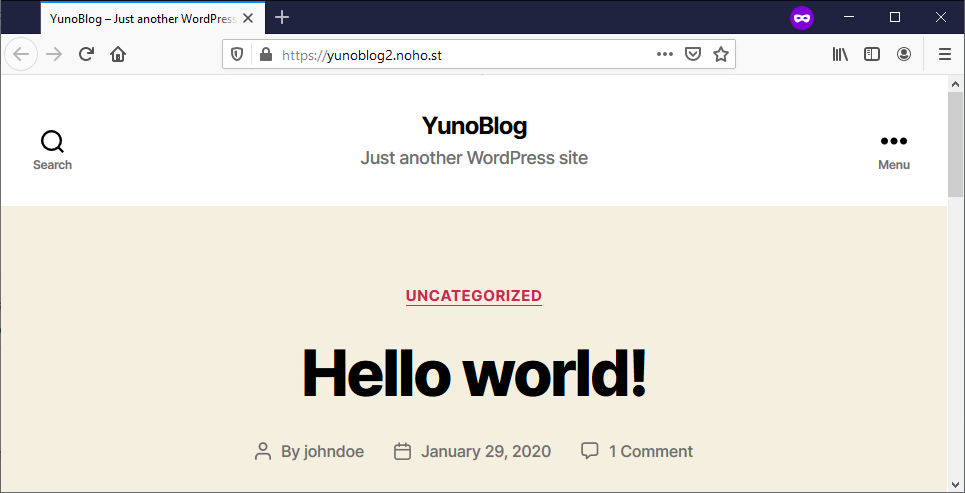
For this demo, we want to use WordPress as our landing page as well, so we will install it to the "/" path, meaning it will fully use mydomain.com


YunoHost uses SSO for many applications, so we would use our newly created used to log in to admin WordPress.